Hi Flite
![]()
![]()
![]()
![]()
![]()
![]()
![]()
![]()
![]()
![]()
![]()
![]()
Replacing the headliner
Click on thumbnails to view pictures.
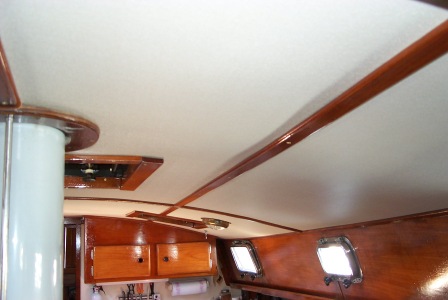
The headliner was in rough condition from age and several leaks.

Since I was going to have to remove several pieces to work on the leaks, it was decided to remove the headliner completely and replace with something new.
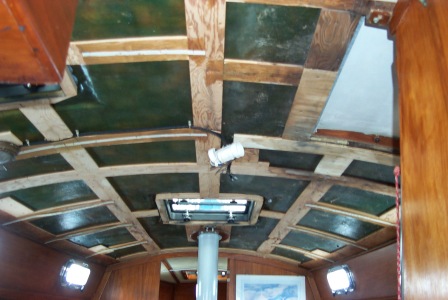
This gave me access to the frames around the hatches which I replaced prior to re-bedding the hatches (see hatch project).
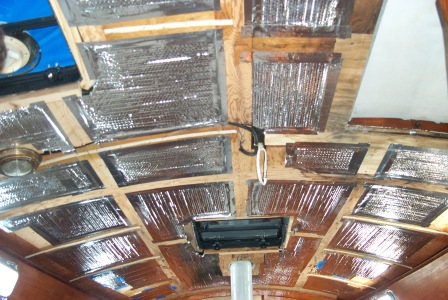
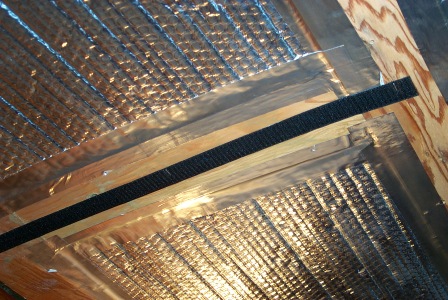
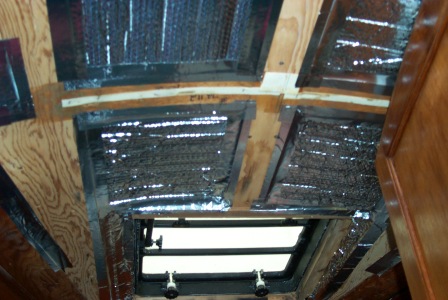
This also gave me to opportunity to add insulation. The headliner mounting strips are a half inch thick so there was room between them for some form of insulation.

I chose Reflectix Insulation because it is the right thickness and easy to work with. It has about an R-4 insulation rating, but it reflects back 97% of infrared radiation. I cut the pieces to fit and mounted them with aluminum tape to act as a vapor barrier. This also will make it easy to remove if I have to get at the cabin ceiling again.
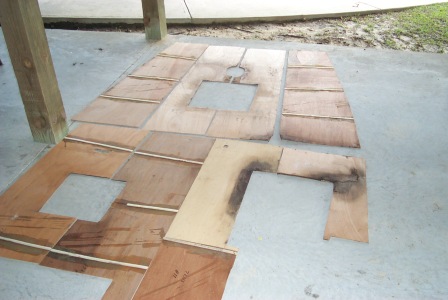
Pearson used eighth inch plywood panels with a vinyl material glued to it. Most of the panels were in bad shape but they were usable for tracing a pattern.
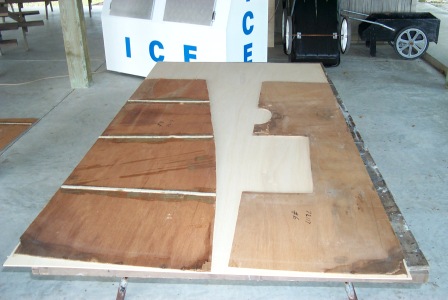
We have a local plywood supplier that has eighth inch plywood sheets with marine grade adhesive. We did a bit of shopping for a suitable covering for the panels. We decided on a lightly textured cream colored vinyl wallpaper.
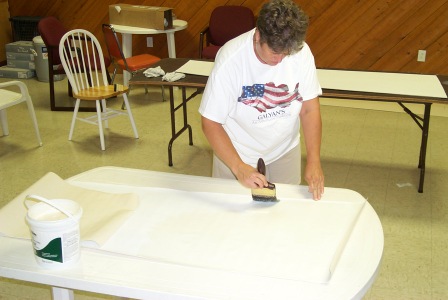
After tracing and cutting out the panels I gave them several coats of primer paint.
We then glued the wallpaper to the panels and left them to dry.
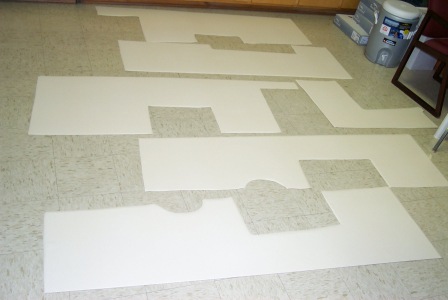
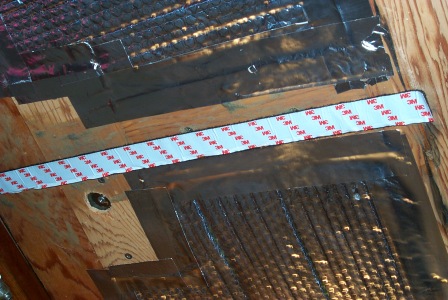
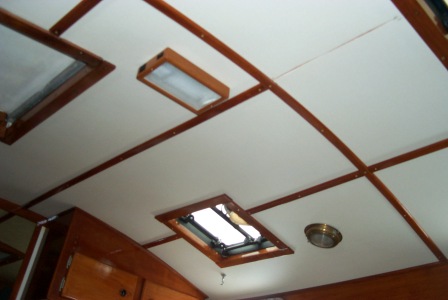
The ceiling is curved and the panels need to follow that curve. Pearson used hook and loop (Velcro) strips to keep the panels from bowing down. We copied this using pre-glued strips of the same material.
After allowing the panels to dry completely we attached them in place using stainless steel staples.
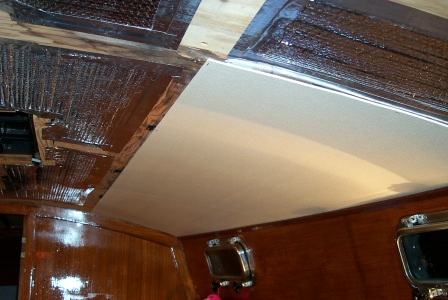
Once all the panels were in place we reinstalled the teak strips and hatch trim that had been varnished while they were off.
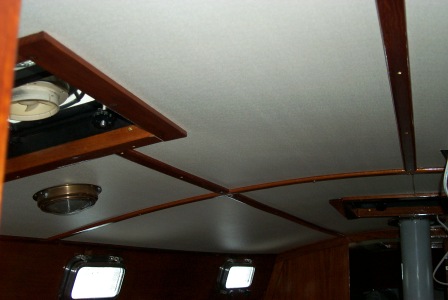
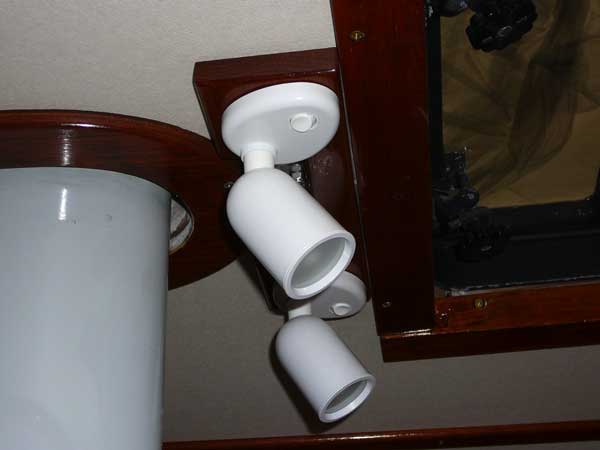
I ran new wiring around the salon hatch in order to add some new lights between the hatch and the mast to light the table area. We are still shopping for the right lights. We also bought a new Alpenglow light to replace the dome light in the center of the salon. We will also install a second one in the aft cabin to replace that dome light as well.
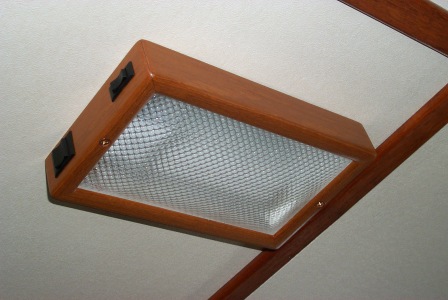
This light is super efficient. It has a high and low setting as well as a high and low red LED's On high it draws less then one amp and puts out a remarkable amount of light.
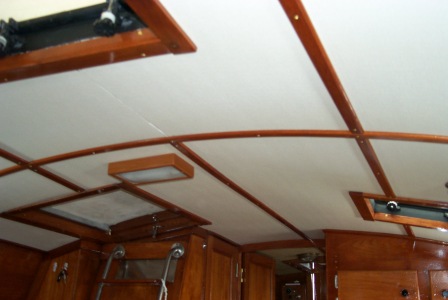
I have to replace one piece of trim that had been cut to install a light we no longer are using, otherwise the salon is finished. With what we learned in the salon it will be easy to finish the ceilings in the V-berth and aft cabin.
The V-berth is complete. As suspected, it was easier then the main salon. It helps that the pieces are smaller and easier to work with.

I finally finished the last of the main salon headliner project. We wanted to add lights above the table. There was one when we bought the boat but I wanted something different. We picked out two lights to mount between the hatch and the mast, where I ran power while the headliner was out. With the help of Gaylan, one of our fellow boaters, we cut and varnished a piece of teak to mount the lights. They are adjustable and help a lot with lighting up the table area.